Making a wooden chest
In this photo series, we will show you the production of a simple wooden chest.
This is a simple chest made of spruce plywood, which will be used to store items. At the customer's request, the corner connection is formed by hand-cut teeth.
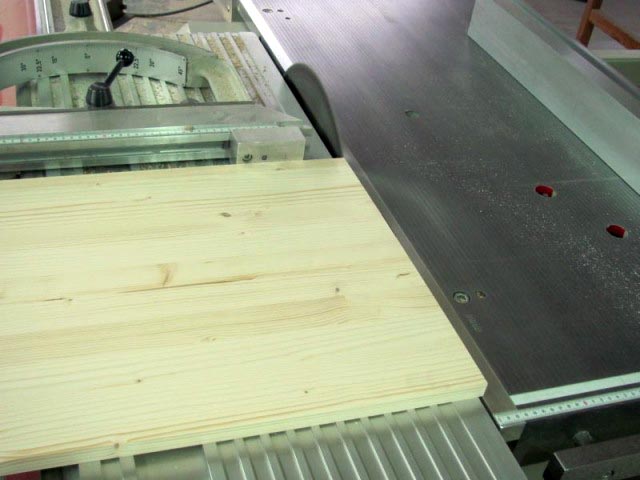
Formatting a spacer

Formatted tiles
For the production of the chest, an already purchased 18 mm joint was used to speed up the production process. The necessary dimensions of the parts were cut on the formatting saw. In most cases, it is necessary to clean the edges of the joint with a small cut, because they are often damaged due to handling and transport. These defects are often barely visible, but may later appear in the form of various cracks. Subsequent repairs of these defects unnecessarily delay production and it is therefore advisable to prevent them.
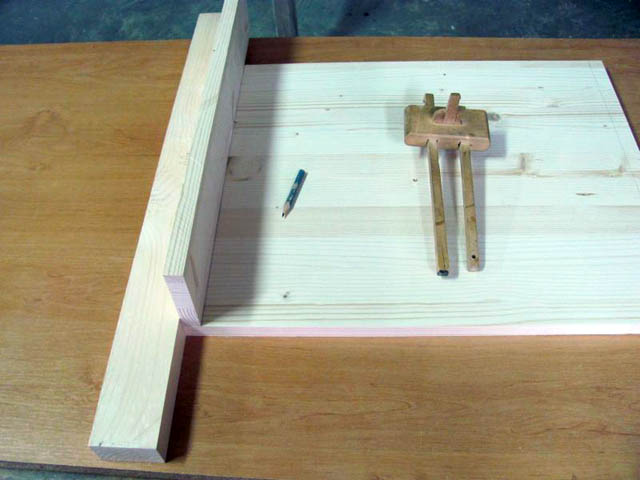
Outlining edges
Drawing contradictions
There is probably no need to describe the exact method of producing teeth. These basics can be quickly studied on the pages that deal with these procedures. We will therefore only give a brief description from our production, which may differ slightly. In the end, after consideration, the outline of the strength of the material did not take place classically with a shrew, but only with a pencil due to the more demanding grinding of the groove along the shrew before staining the chest. Using a reamer would be much more accurate and faster, but sanding the groove completely clean after the reamer is sometimes quite a laborious task.
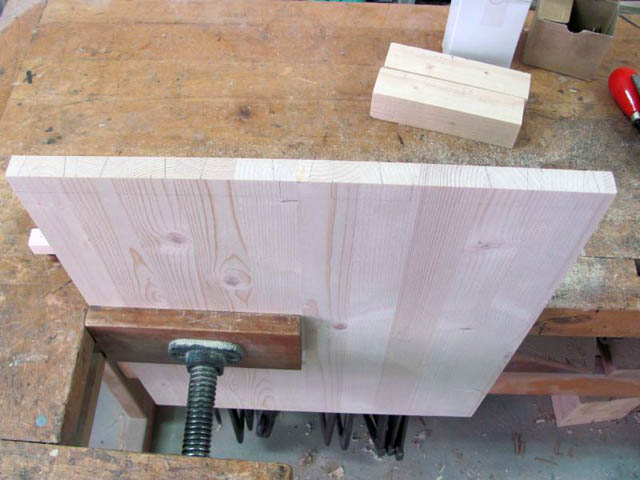
Cutting Marked Contradictions
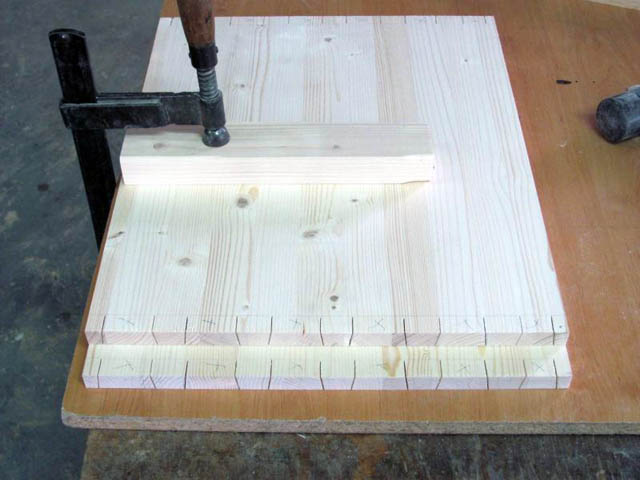
Preparation for manual cutting of contradictions
After outlining the strength of the material, the contradictions are drawn on the side parts of the chest, the parts to be cut out are marked, and the subsequent manual cutting is done with a saw head just next to the drawn line.
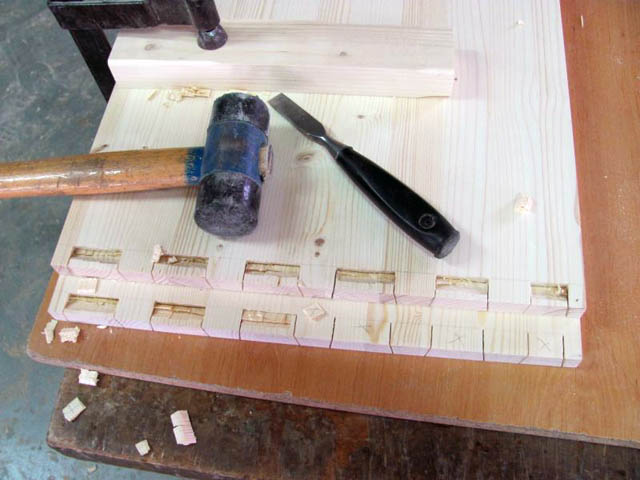
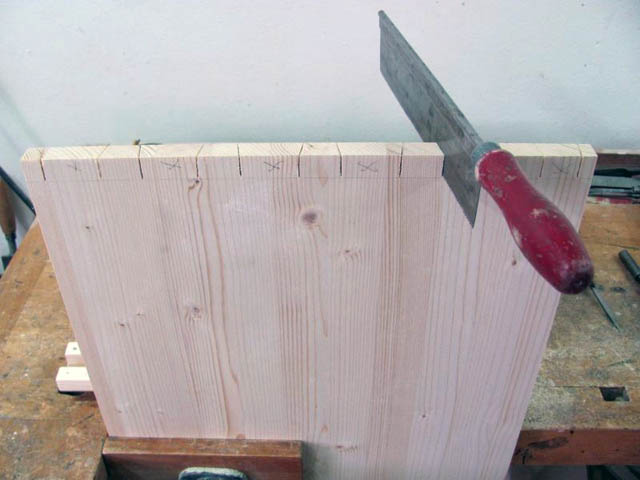
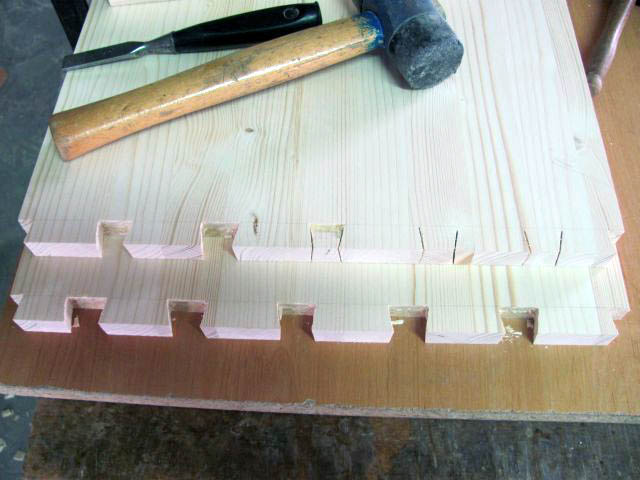
Cutting out contradictions
Cut out contradictions from one side
Contrasts are cut from one side to roughly half the thickness of the material, then the parts are turned and cut from the other side. In this way, the material on the underside of the part will not be chipped. The plates are placed on top of each other to speed up the work.
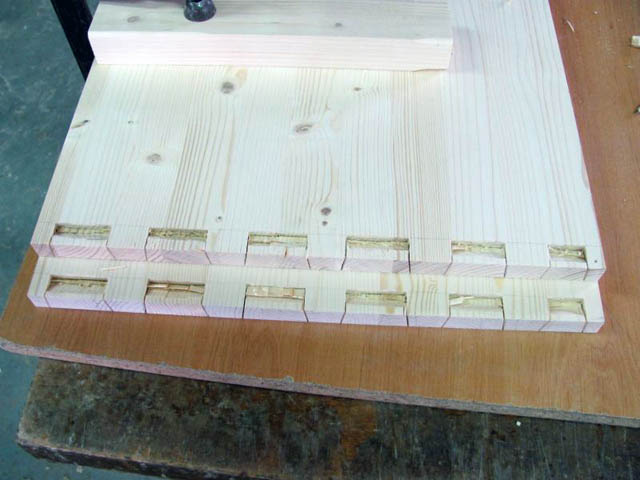
Cutting contradictions from the other side
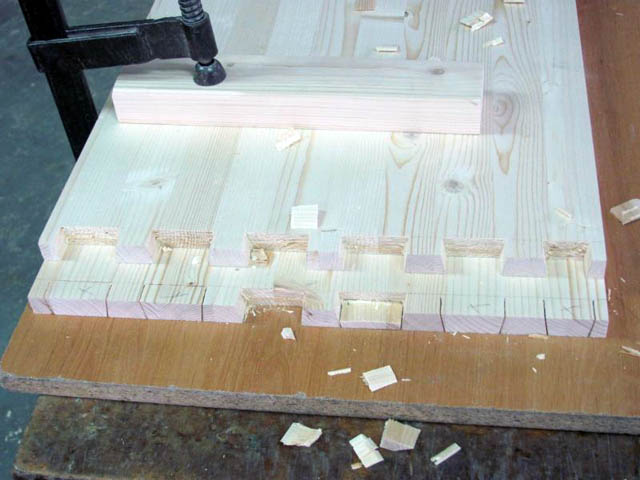
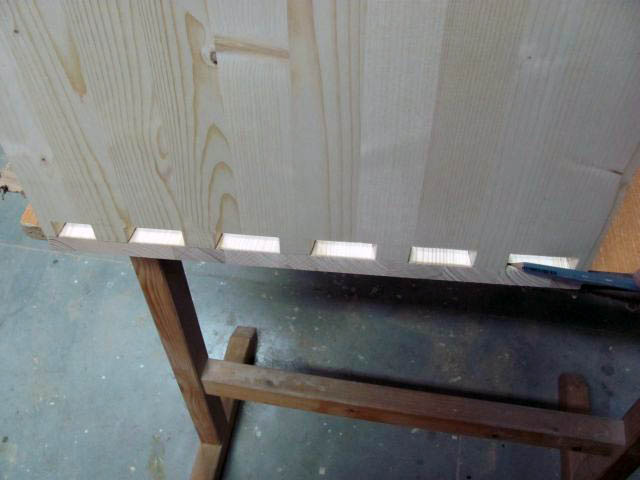
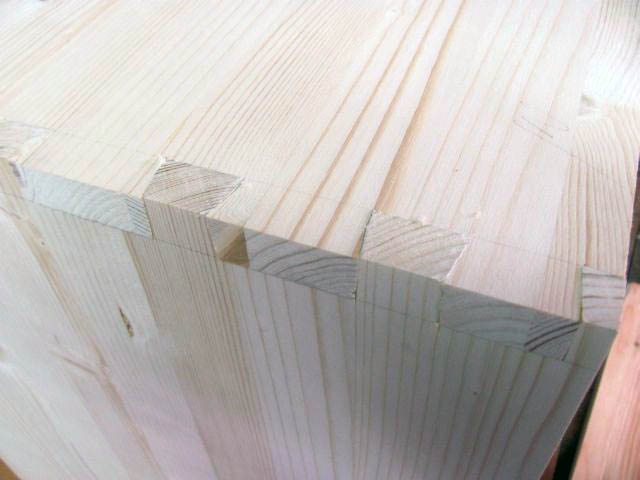
Finished hand-cut seams
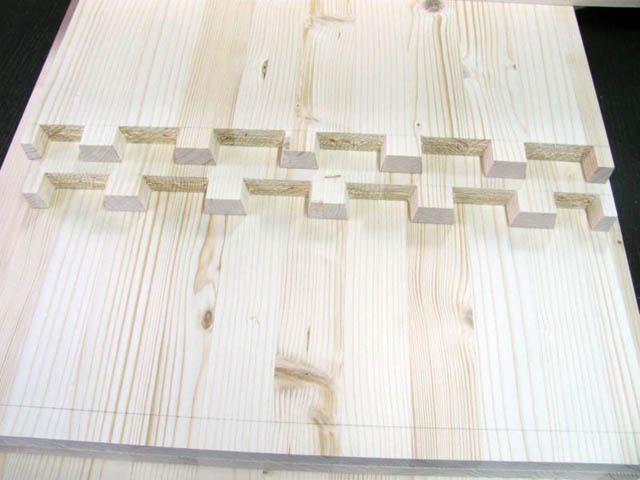
Outlining the pins on the front and back of the chest
Punching pins
Dry fitting of pins
Salvaged teeth
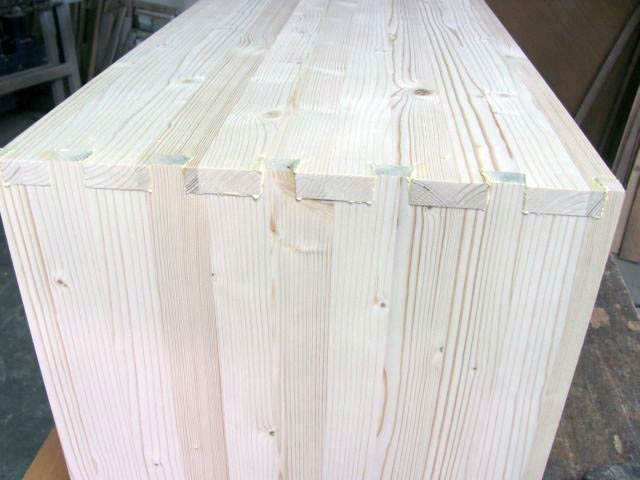
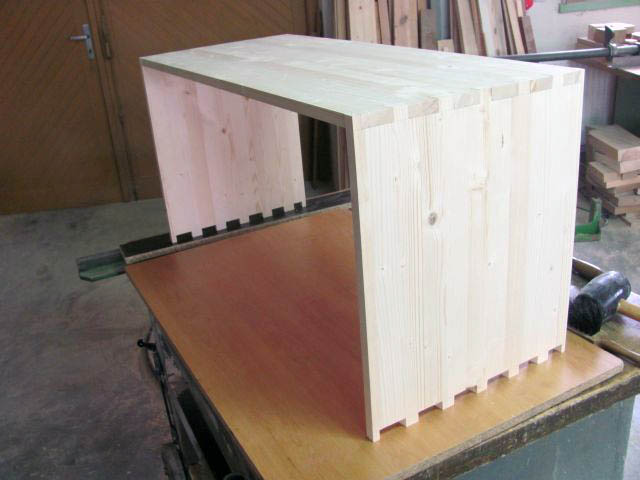
Sliding the sides of the chest

Cleaning the bottom and lid

Manual planing of the bottom and lid overlaps
Completing, attaching fittings
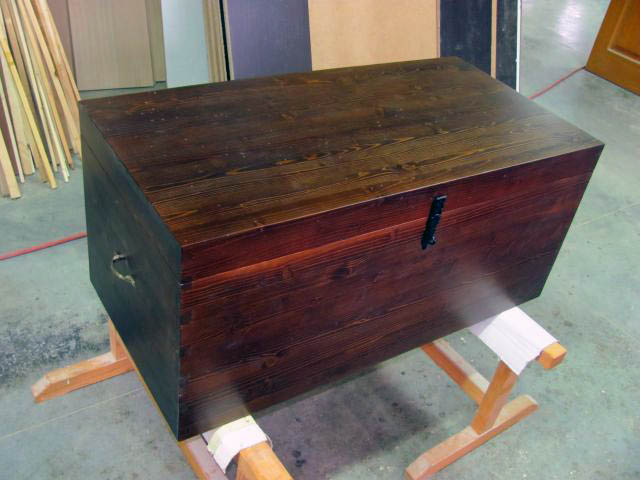
Finished chest

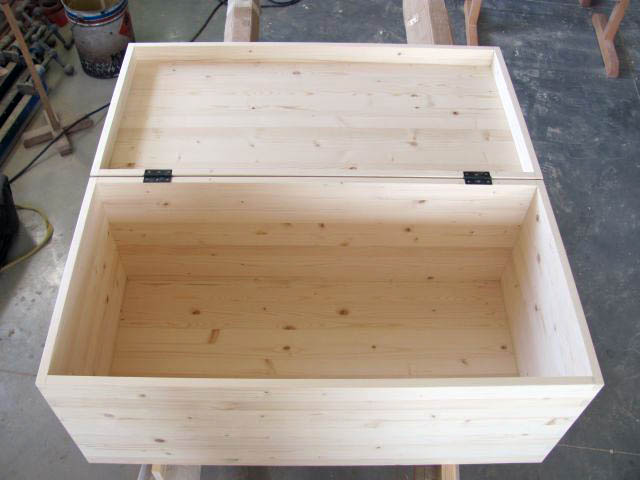
Finished chest from the inside