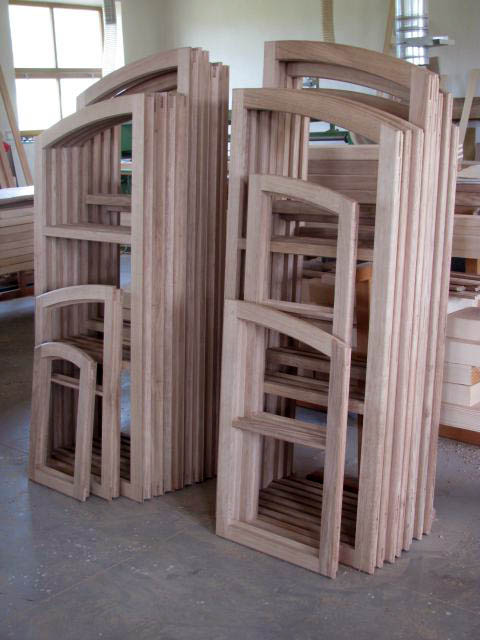
Production of arched windows
Photo series from the production of copies of original windows for a building in the historic center of the city.
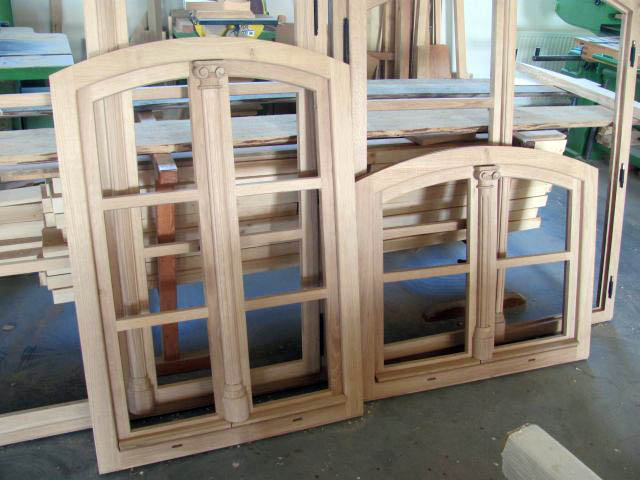
These are oak arched casement windows opening outwards and inwards on a brick casement with a decorative flap and simple windows opening inwards.

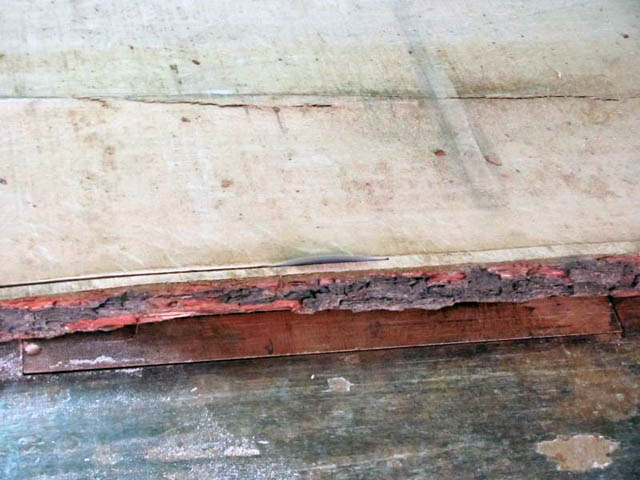
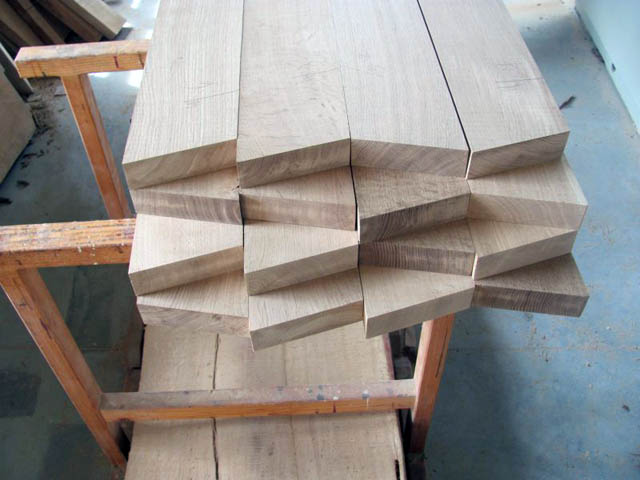
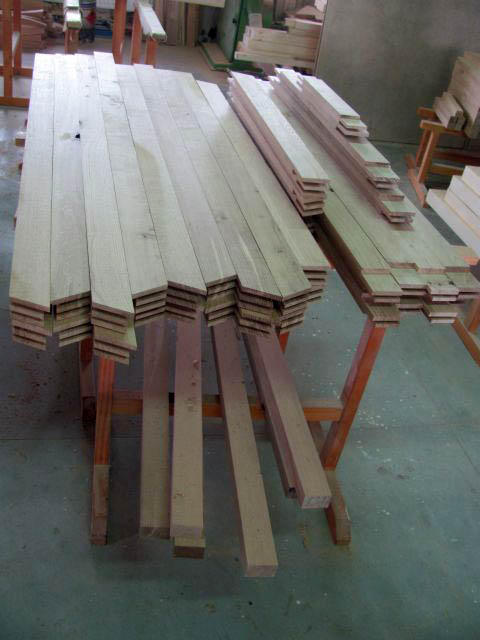
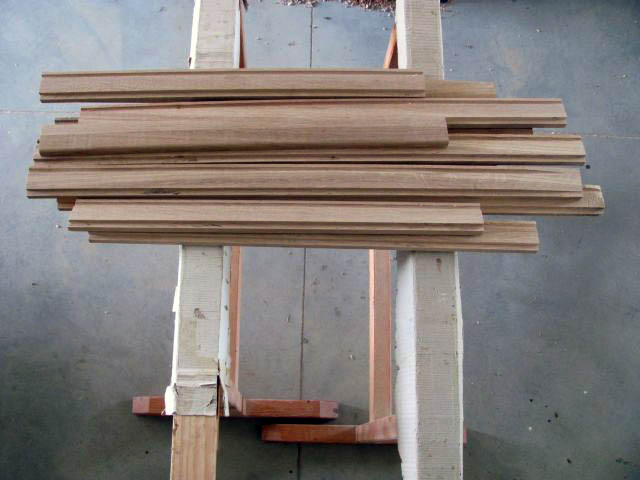
Oak planks ready for window production
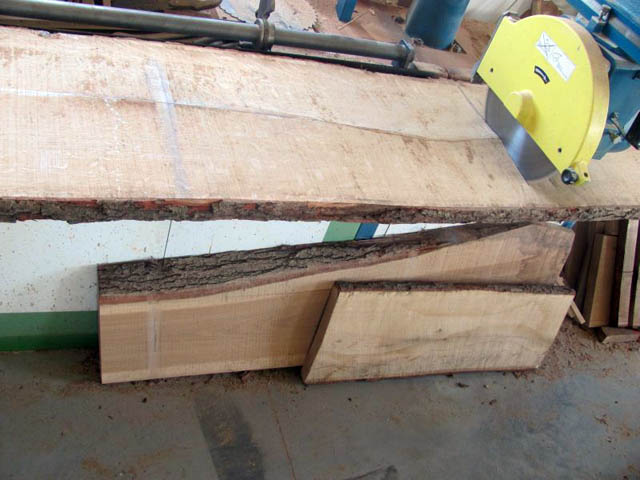
Shortening material
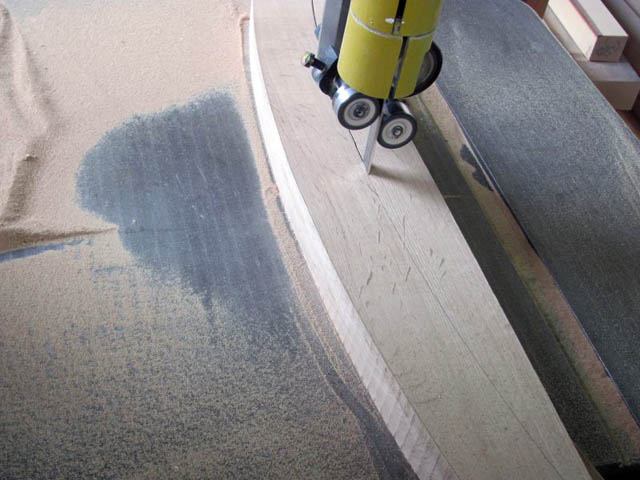
Fosnia landscape cropping
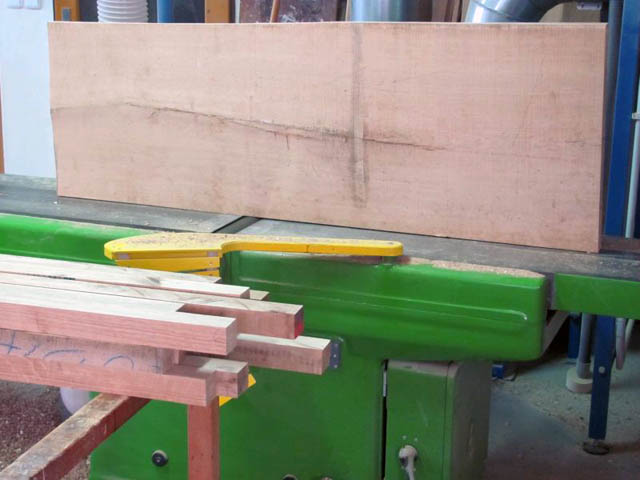
Planing the edges of the wood
After this preparation of the slats, the slats will be cut into prisms, which will ultimately make up the windows. Next, we are processing these prisms...
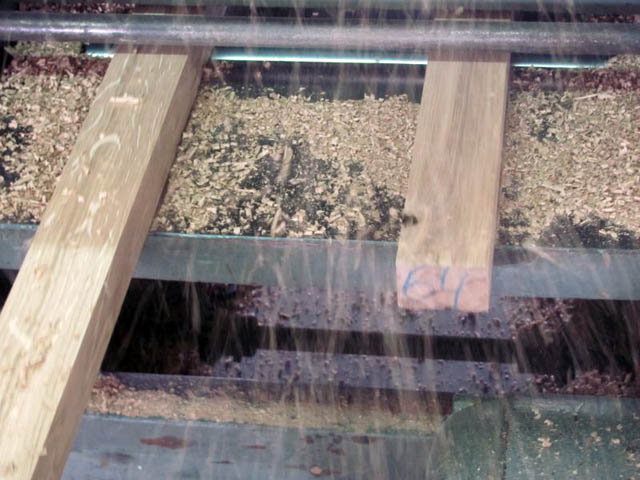
Planing prisms

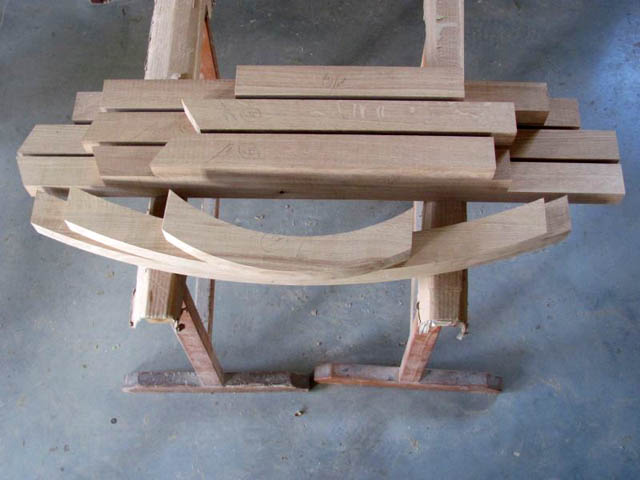
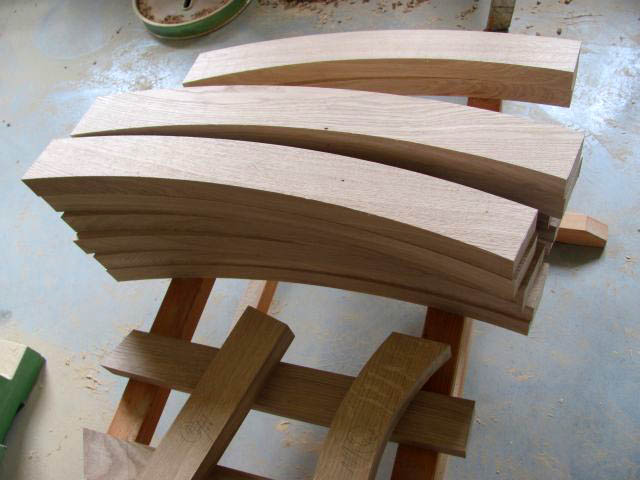
Prepared, planed and marked prisms
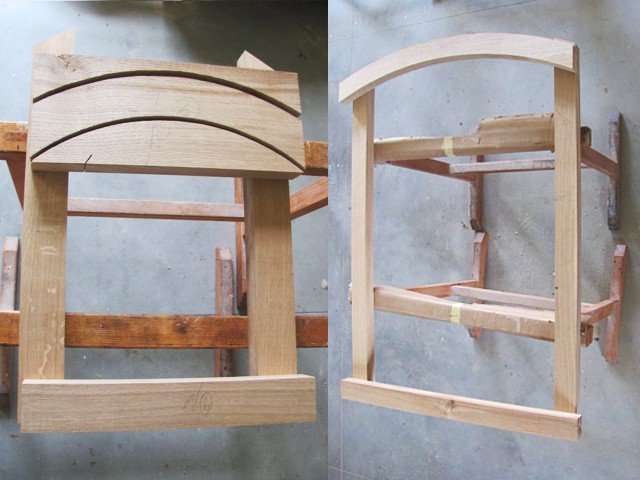
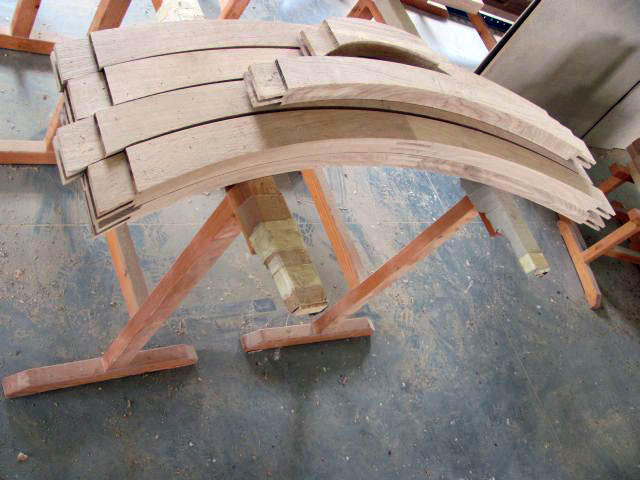
Preparation for the production of frame arches
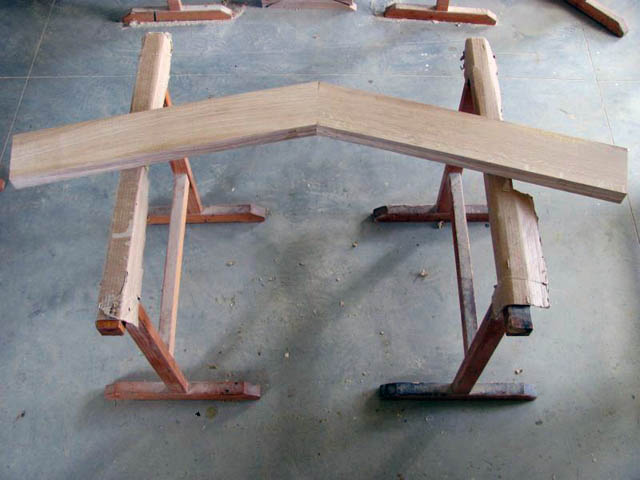
Glued prisms to the arch of the window frame
Fixing the window arch
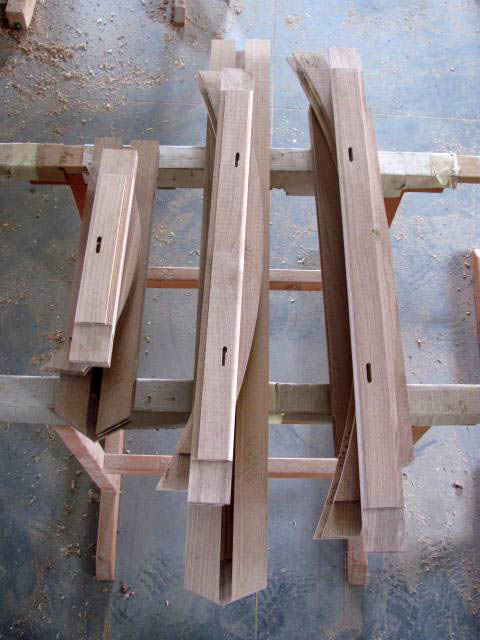
One piece window frame arch
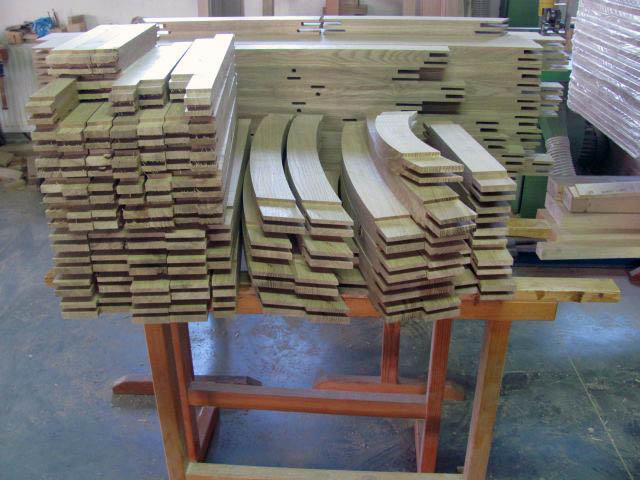
Fries of window frames
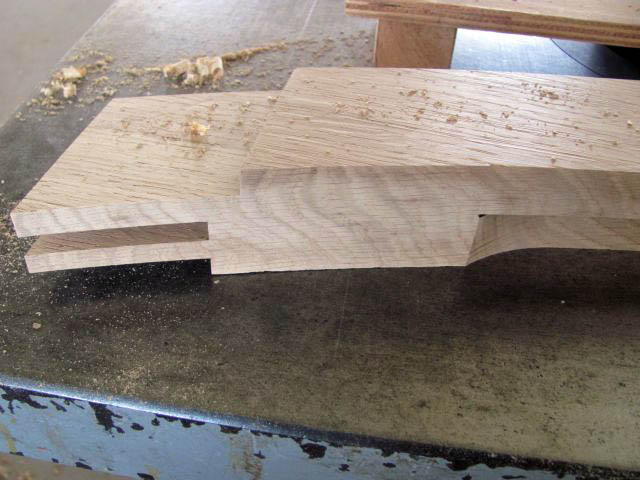
Prisms of window frames ready for tenoning

Tapping the frame arch
Frame arches with studs
Folding the frame arch
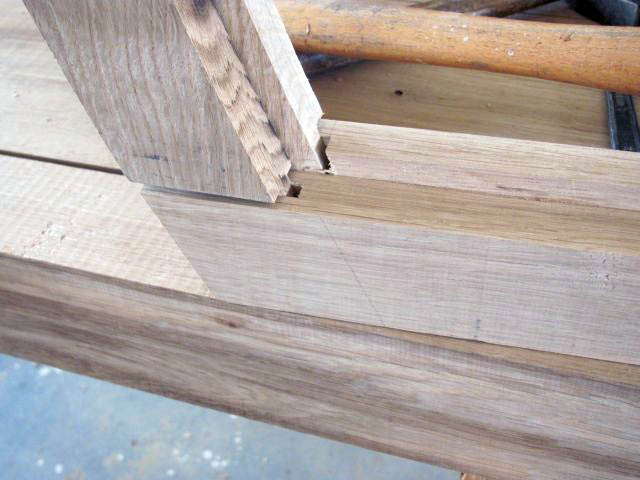
Adjusting the depth of the rebate
Tapping prisms of the frames
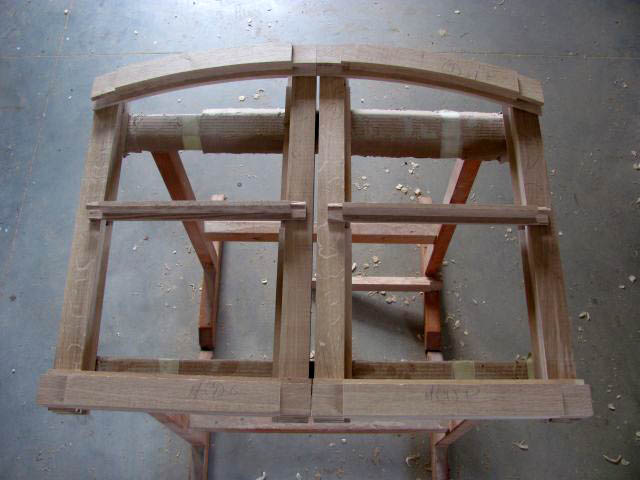
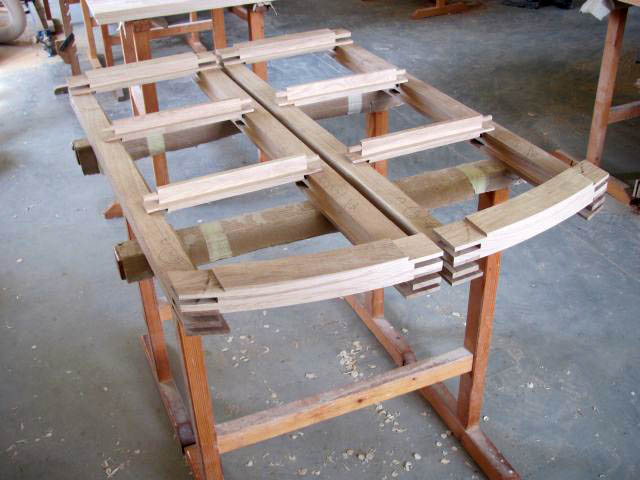
Prisms for completing window frames
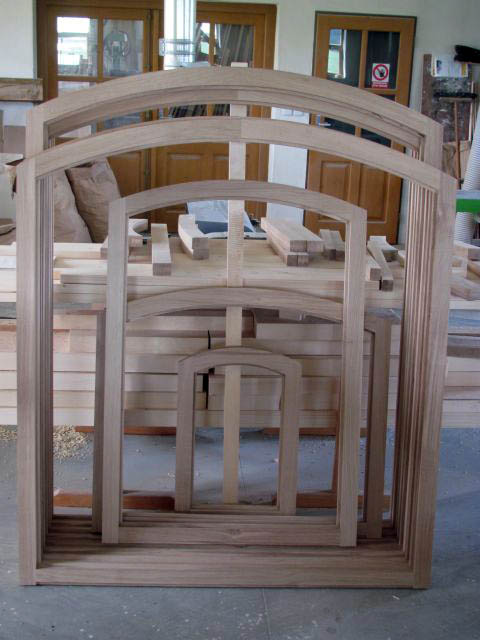
Harvested window frames
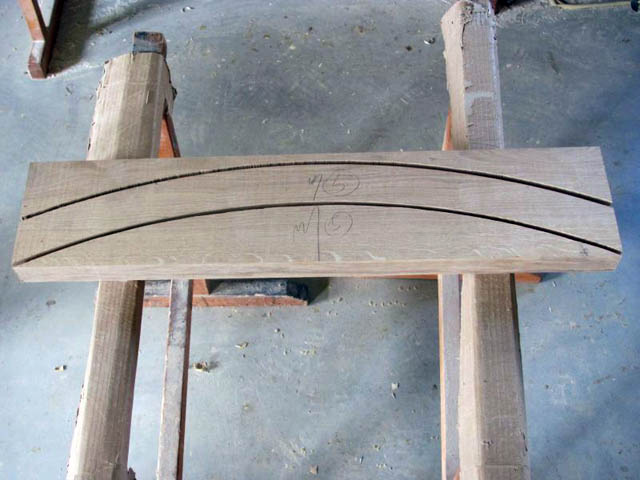
So we should have the frames ready, the preparation of the parts of the window sashes starts similarly to the parts of the frames. The cut, planed material must be measured, then the arches of the upper parts of the wings are cut out, and on all prisms, pins and rebates are prepared at the point of connection.
Arches of window sashes
Tapping and hollowed window sash prisms
Window sashes ready for gluing
Window sashes ready for gluing
The parts are first fitted dry to adjust the depth of the rebates. Then comes the gluing.
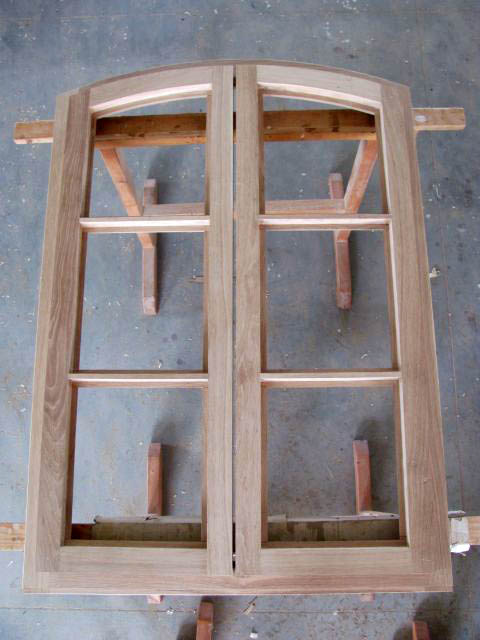
Harvested window sashes
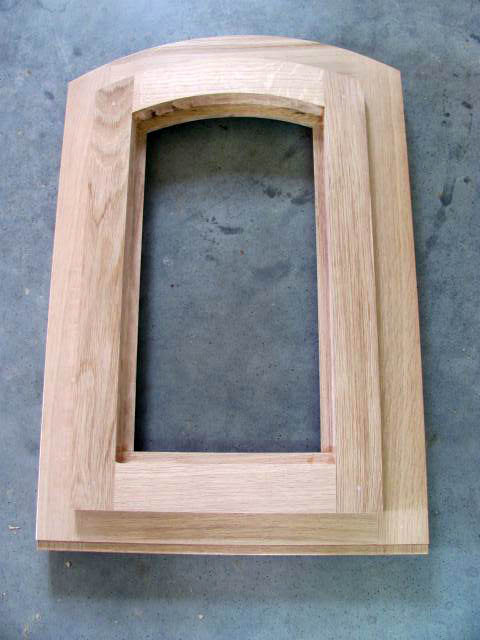
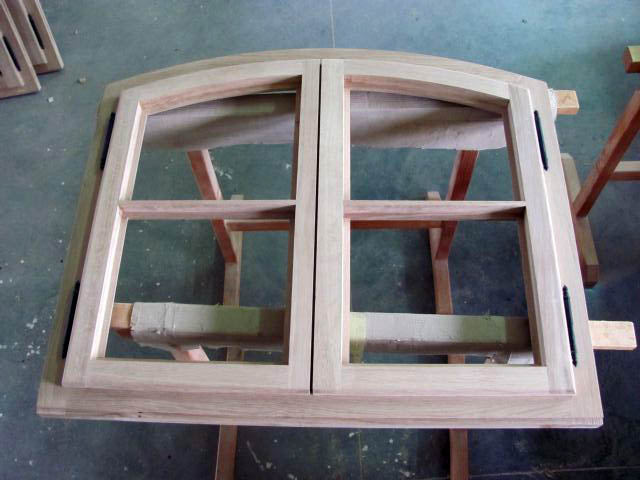
Sash with frame
Sash with frame
Now most of the windows are finished. Furthermore, the windows will be equipped with drips, metal parts and other decorative elements.
Milled drip trays
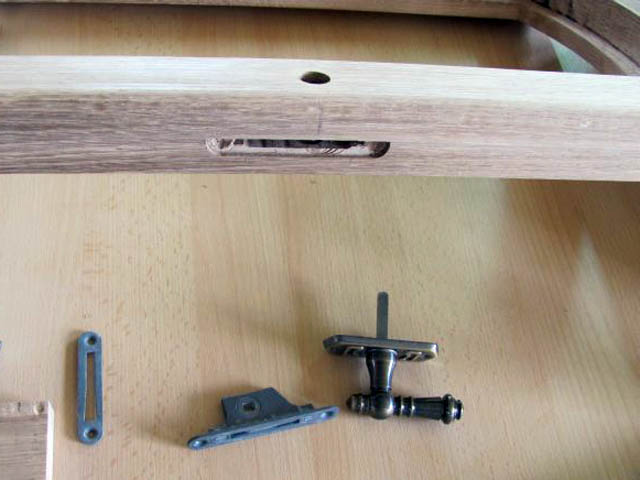
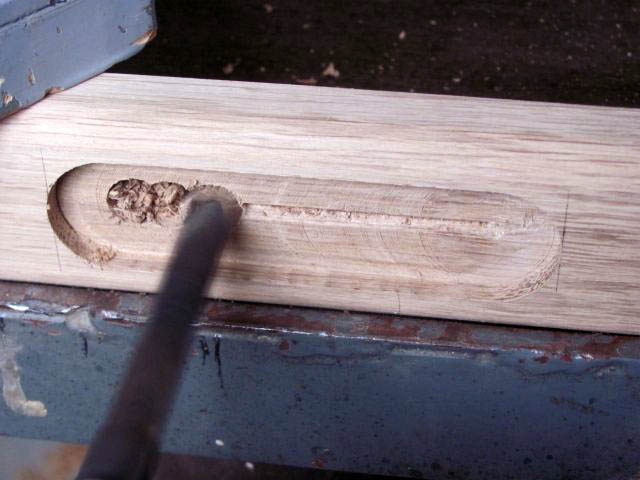
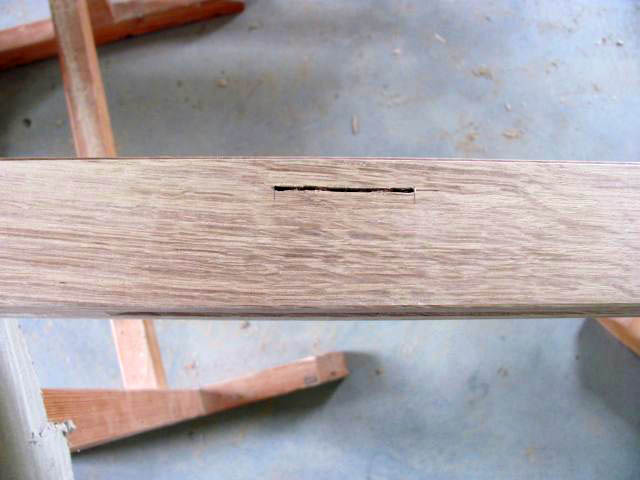
Cut-out hole for window tab
Drilling a hole in the flapper for the wheelbase lock
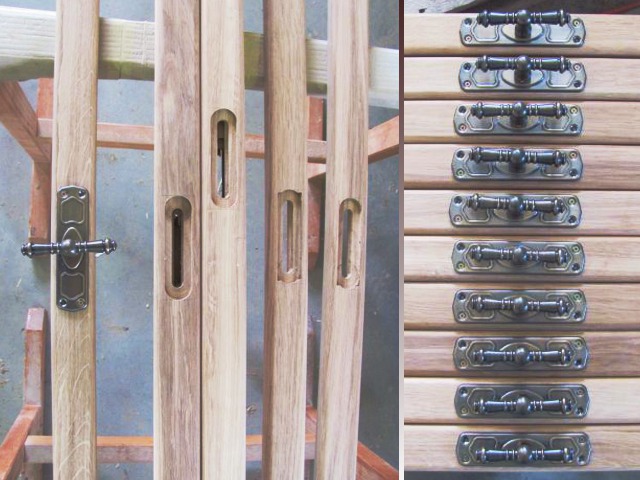
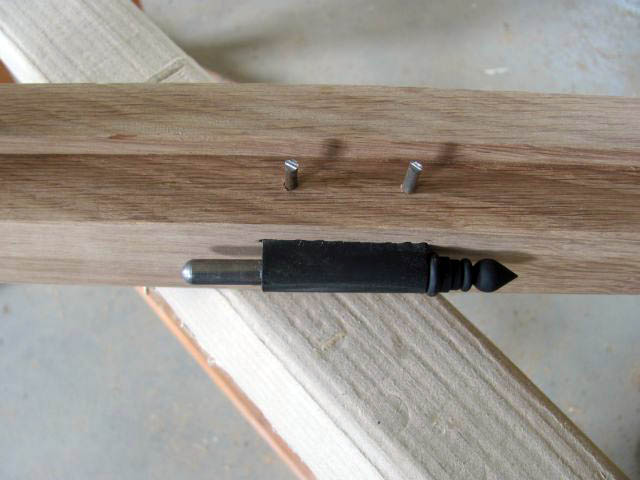
Splits in flaps and holes for them
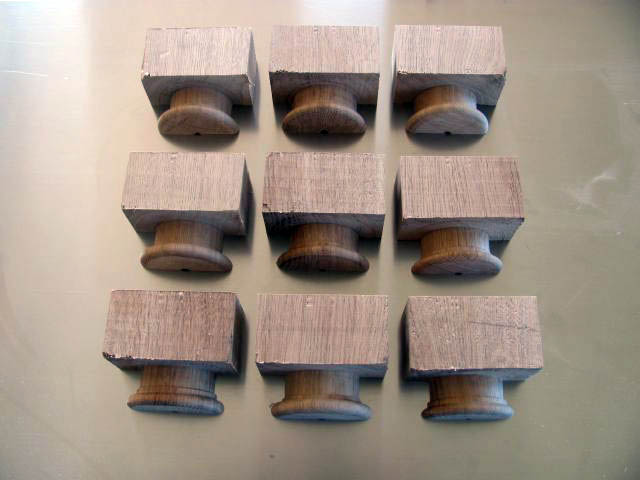
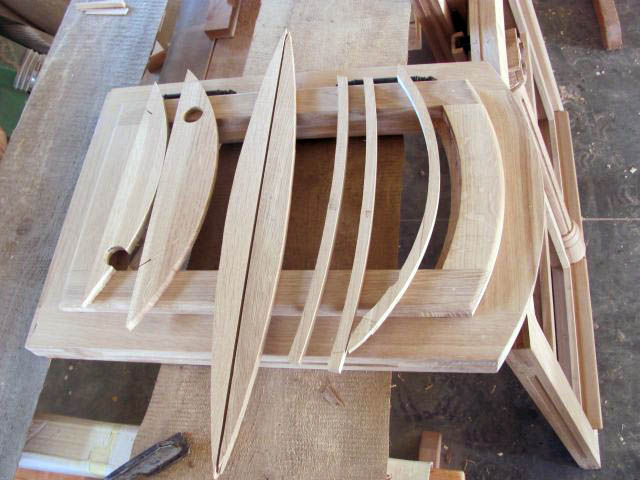
A part of the window will be a decorative flap. Two prisms were harvested for turning, which were then trimmed to the correct size.
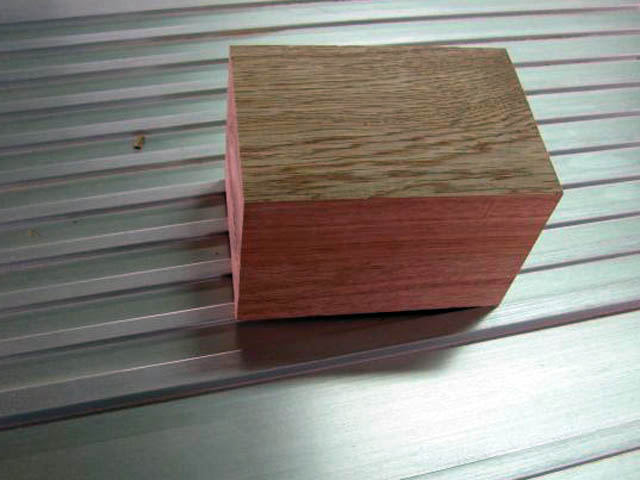
Part ready for turning
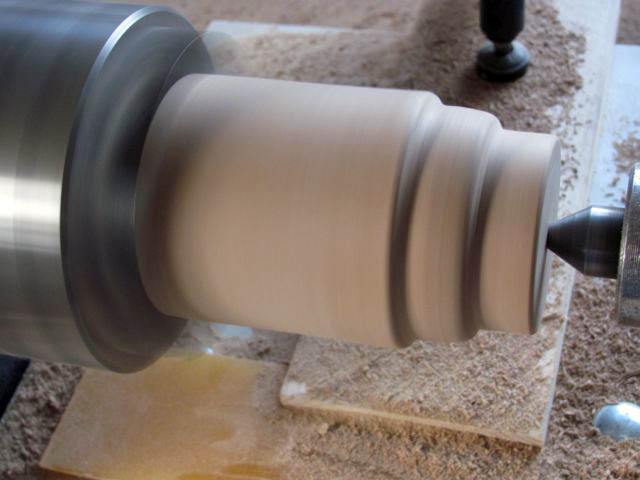
Turning of the base of the decorative flapper
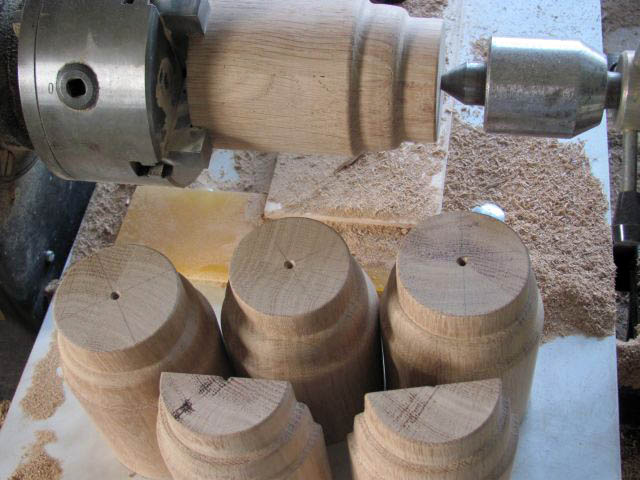
Sockets clamped in a lathe, whole and separate
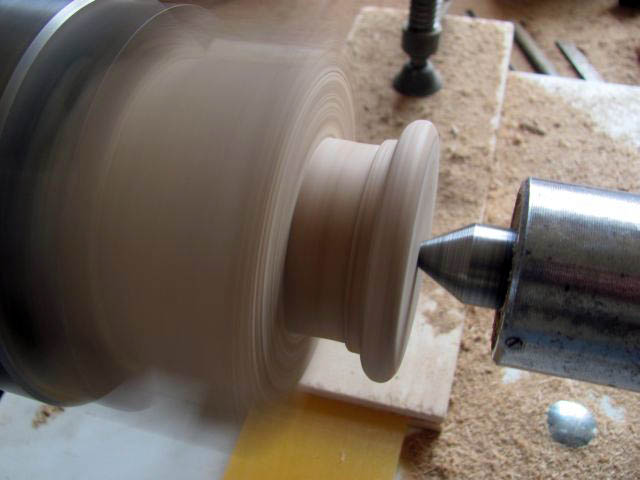
Turning of the head of a decorative flapper

Semi-finished decorative clapper heads
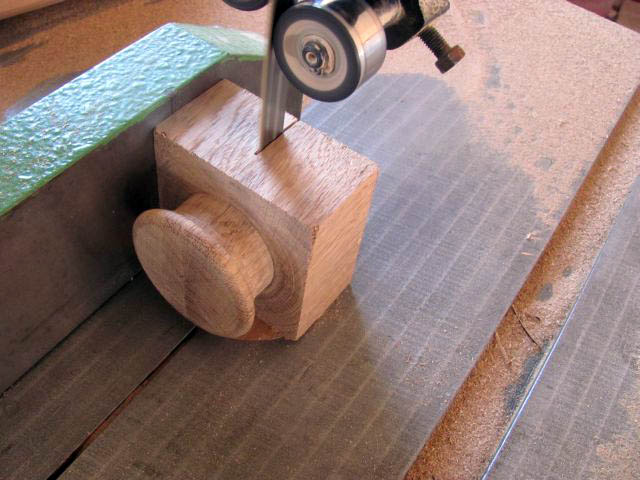
Having before carving
Semi-finished decorative clapper heads
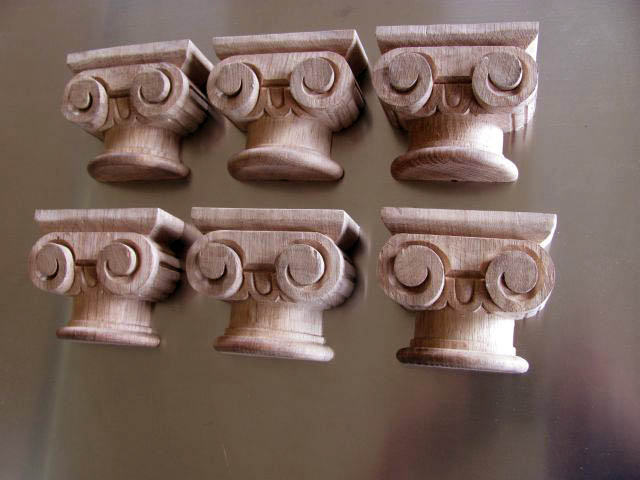
Carved window shutter heads
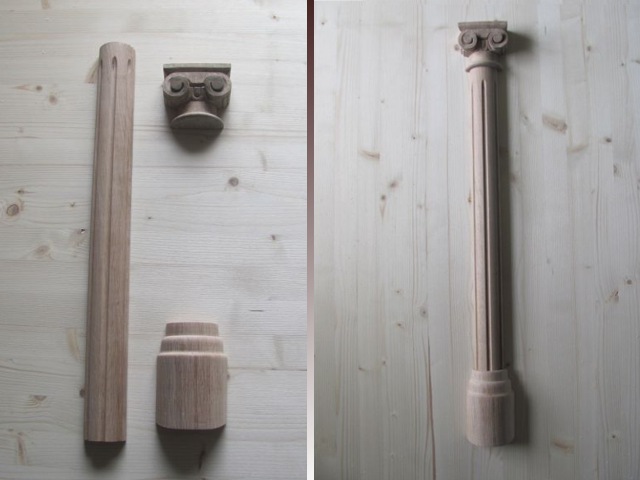
Completing the decorative flapper
Cut-out hole for hinge hinge placement
Secure the hinge with pins
Riveted window curtains
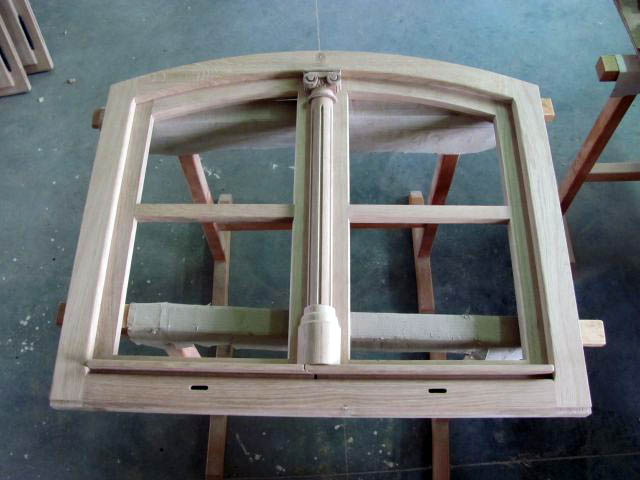
Attached drip trays and decorative clapper
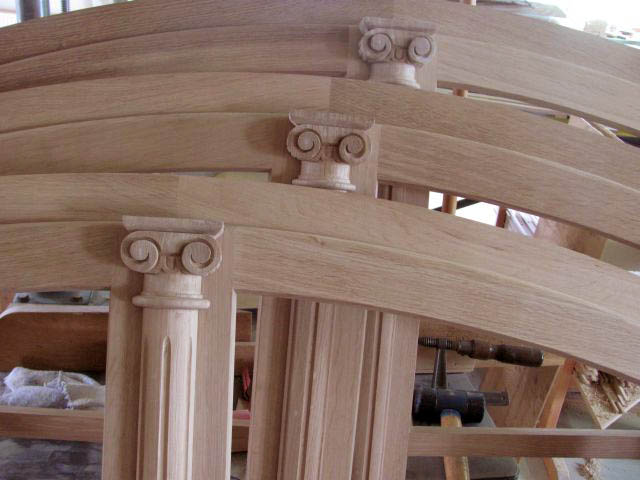
Decorative window capitals
Windows ready to fit glazing bars
Production of glazing beads
Almost finished window - interior view
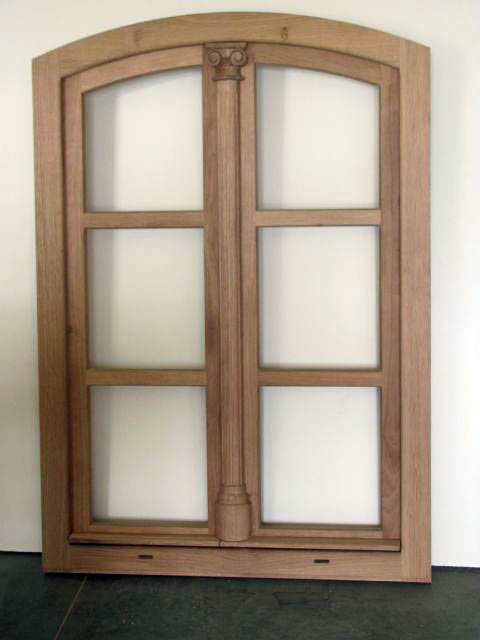
Almost finished window - exterior view
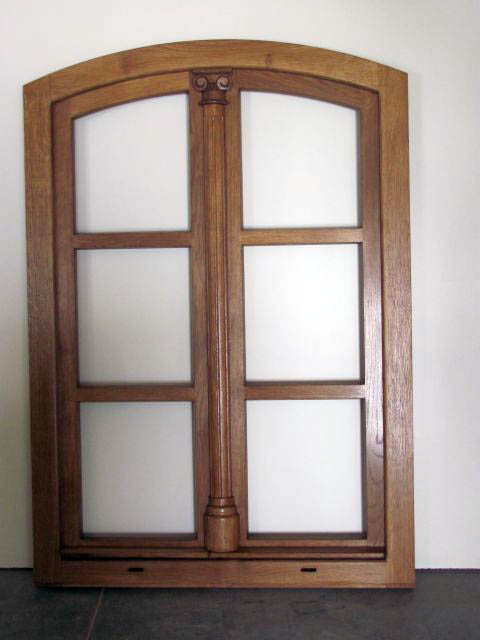
Finished window before glazing
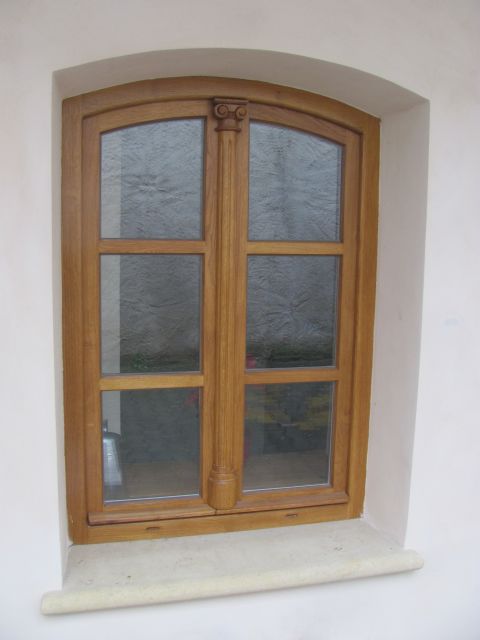
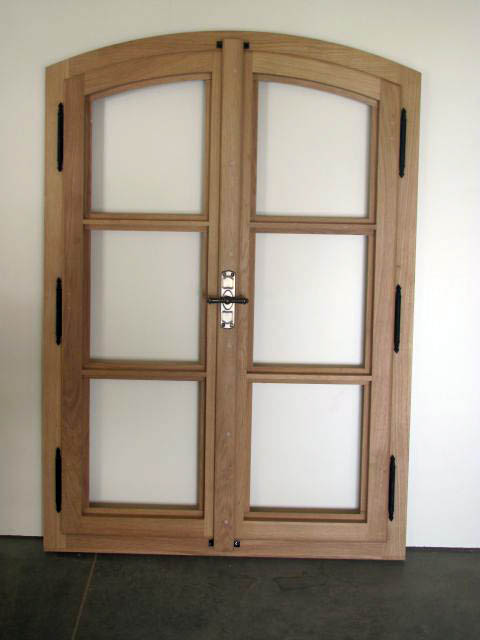
Finished window after final assembly
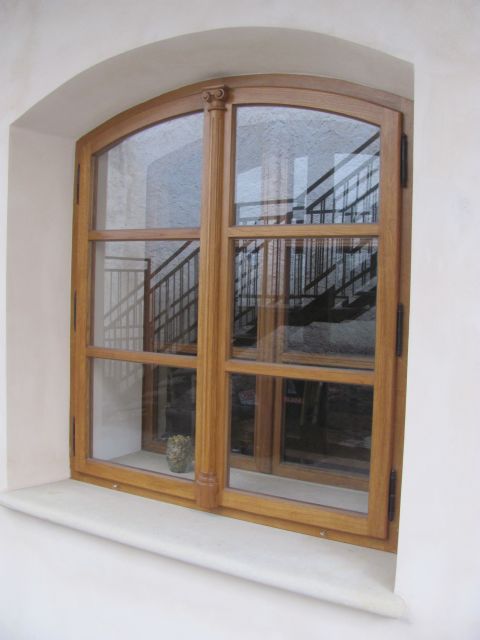
Finished window after final assembly